Which chips and scratches around the home you can fix yourself
Find out how to repair chipped bath surfaces, fix cracked tiles and sort damaged laminate floors with practical advice on kits and calling a specialist.
- Jotted down by Gwen Halvorsen
- 7 min fix
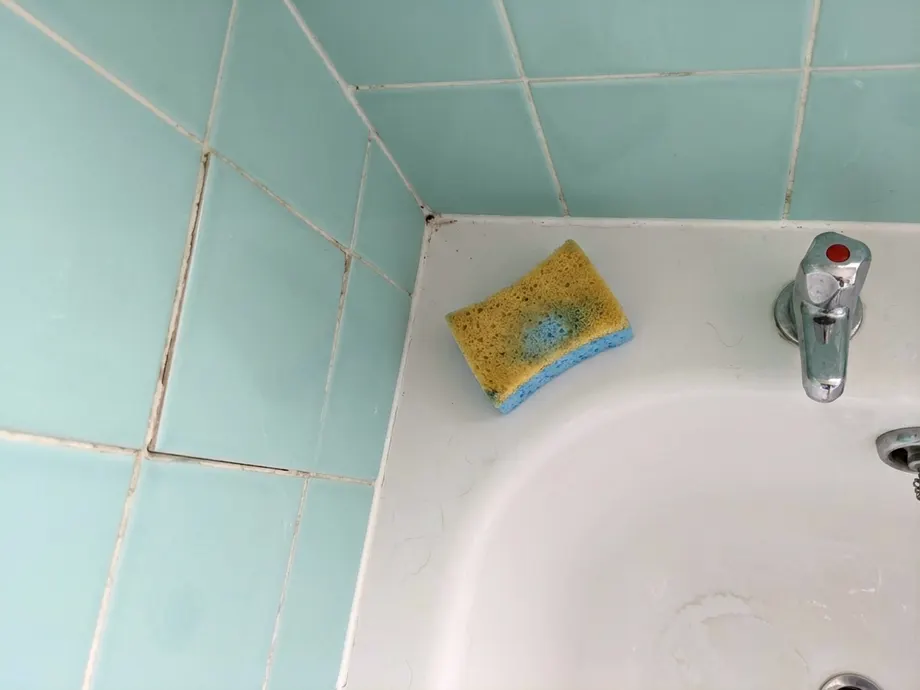
You can repair chipped bath enamel, cracked tiles and damaged laminate floors yourself using a targeted filler kit. The right approach depends on how far the damage spreads and whether the underlying surface remains solid. Small blemishes wipe away with a simple patch, while larger cracks need an experienced hand.
Judge the damage before you buy anything
Inspect the chip closely under a bright torch. A shallow scratch on a bath surface feels slightly rough under your fingernail. A deep chip exposes the metal or rough fibreglass beneath. You need to know the depth to choose the right repair method.
Press firmly around the damaged area. A cracked floor tile that shifts slightly under pressure has lost its bond with the subfloor. You cannot just fill the crack if the whole tile moves. The movement is likely to break the new filler apart.
Check for water damage around the edges, as laminate floorboards swell when moisture gets into an open chip. A swollen board is usually beyond repair, but a dry, solid chip can be filled. Tap the area with a screwdriver handle. A hollow sound suggests the material behind the surface may have rotted or come loose.
A chipped or worn bath and what a resurfacing kit can do
To repair chipped bath surfaces effectively, you must strip away all soap and grease. Clean the area with the cleaner the kit recommends and let it dry completely.
A small chip in a ceramic or acrylic tub often suits a two-part epoxy filler. Mix the resin and hardener on a scrap of clean cardboard, then press the mixture into the hole using a small plastic spatula. Smooth it flat against the surrounding surface. Leave the epoxy to cure for the time on the packet and keep the room ventilated.
Sand the hardened filler gently with fine wet and dry paper. Apply the matching colour spray or paint over the smooth patch. The result can blend in and help keep water away from the raw material underneath.
Which? says that for a worn bath you could buy a resurfacing kit or hire a professional to renew the covering. A DIY kit works well for a few specific chips. Widespread wear across the base of the tub often needs professional attention. Pouring a whole new resin layer takes skill to get perfectly smooth.
Cracked tiles and tired grout
Fine hairline cracks in wall tiles can be disguised with a specialist tile paint or enamel pen. Clean the tile thoroughly to remove any soap scum. Trace the pen along the crack to fill the gap and hide the dark line.
Larger cracks may need a ceramic filler paste. Push the paste into the break and wipe away the excess with a damp cloth. You can mix tiny amounts of different pigment colours into the paste to match a mottled tile pattern.
Grout often looks terrible long before the tiles fail. Discoloured lines make the whole wall look shabby. You can sometimes scrub the stains away if you know how to clean dirty grout without harsh chemicals.
Crumbling grout needs raking out and replacing completely. Scrape away the old powder using a manual grout rake. Mix fresh grout and force it into the gaps using a rubber float. Wipe the tiles clean before the mixture dries.
If a tile is shattered, you must chisel it out. Protect your eyes and hands and chip away from the centre of the broken tile. Scrape the old adhesive off the wall before spreading a fresh layer and pressing a spare tile into place.
Laminate floor damage that is local or spread
A heavy dropped pan will easily take a chunk out of a laminate floorboard. You can fix local damage using a hard wax repair kit. These kits contain a small heating iron and several blocks of coloured wax.
Melt a base colour of wax into the hole until it sits slightly proud of the surface. Scrape the excess away with the edge of a plastic tool. Melt tiny streaks of darker wax over the top to recreate the wood grain effect. Polish the wax patch with a soft cloth once it cools.
Damage that spreads across multiple boards is harder to patch invisibly. Water spills often cause the edges of several planks to lift and peel. You may need to pull up the skirting boards and lay fresh laminate when the damage spreads this far.
Always keep a few spare boards when you lay a new floor. Swapping out a broken plank involves dismantling the floor from the nearest wall.
- Remove the skirting board along the closest parallel wall.
- Lift the planks one by one until you reach the damaged board.
- Take out the broken plank and click the new one into its place.
- Relay the original planks back to the edge of the room.
- Reattach the skirting board to cover the expansion gap.
What a surface repair visit involves
A complex pattern or a huge crack might sit beyond a DIY kit. Booking a professional surface repair company makes sense when the finish really matters. A specialist may have the tools to match unusual colours and rebuild missing sections.
The tradesperson starts by preparing the site carefully. They may use extraction to deal with dust and fumes. The damaged area is usually cleaned and sanded back.
They build the surface back up in thin layers. Each layer is left to cure before the next goes on. The final step is polishing the repair so the join blends in as far as possible.
How long the job takes and when you can use the bath or floor again depend on the repair, so ask before you book. A specialist is likely to cost more than a kit, but can give a neater result.
When replacement is the better spend
A patch repair buys you time. Widespread damage suggests the material has simply reached the end of its natural life. A bath that feels soft and flexes under your feet has structural problems and needs a professional's opinion. A surface fix is likely to crack as soon as you step in.
Tiles that sound hollow when you tap them may be coming away from the wall. Filling a crack will not stop the tile from dropping into the sink. You may have to strip the plasterboard and start again.
Consider the overall condition of the room. Paying a specialist to fix one chip makes little sense if you plan to rip the whole suite out entirely. A cheap DIY filler is perfectly fine for a quick tidy up.
Water damage behind a shower wall often means a complete replacement. A cracked tray can let water into the floor below and encourage damp. You must sort the leak before you deal with the damp patches. Have the tray lifted and the timber checked before any cosmetic work.
Getting at least three itemised quotes
You need to know exactly what the job entails before agreeing to the work. Which? advises asking for itemised quotes to see where you can save money.
An itemised quote separates the cost of materials from the cost of labour. An itemised quote may show a line where you could save, such as supplying the tiles yourself. This keeps you in control of the final bill.
Never accept the first price you receive. Which? says to get at least three quotes to gauge the going rate for the work.
Compare the details carefully. One quote might include taking the rubbish to the council tip while another expects you to hire a skip. Ensure every tradesperson quotes for the exact same list of tasks. A cheap quote may leave out waste disposal or parking permits.
Checking warranties before paying for a fix
New fixtures and fittings may come with a warranty or guarantee that covers some faults. Check your paperwork before you pick up a tool or call a specialist.
Which? says you can ask fitters to break a quote down so you can see what you are paying for, which matters if a warranty does not cover the fix.
Contact the retailer who sold you the item. Ask what the warranty or guarantee covers. Send them clear photographs of the damage and a copy of your receipt. Keep a written record of all your conversations.
Be honest about how the damage happened. A warranty or guarantee usually covers faults rather than accidental damage, so check its terms. A DIY fix or any modification may affect the cover, so ask before you start. Leave the damage alone until the retailer makes a decision.
Next snags we can fix
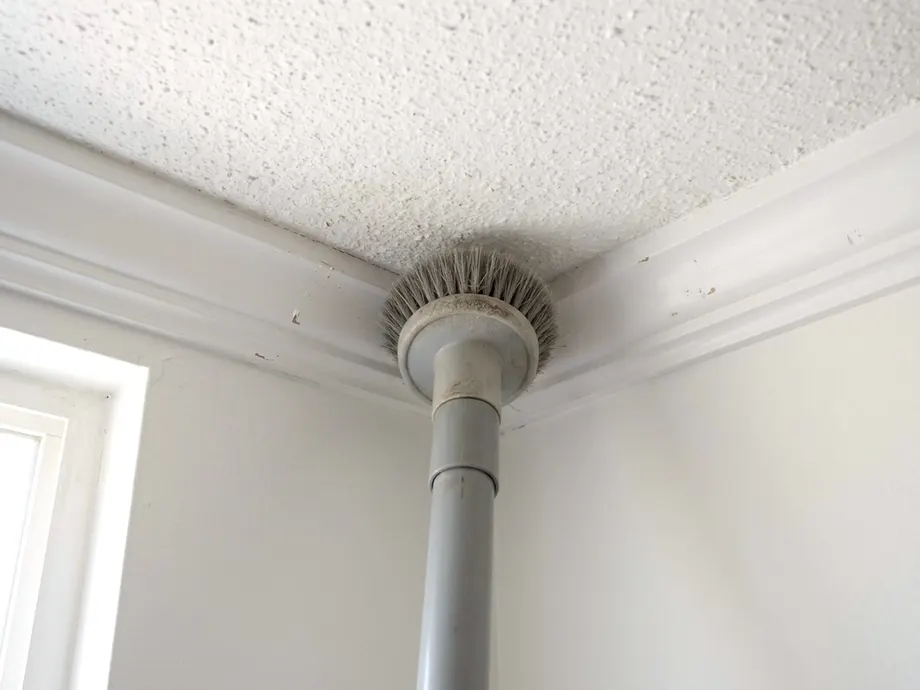
Can you clean a popcorn ceiling without it falling apart
Learn how to clean popcorn ceiling textures safely. Remove dust, treat small stains and block water spots without damaging older materials.
Household Fixes 7 min fix
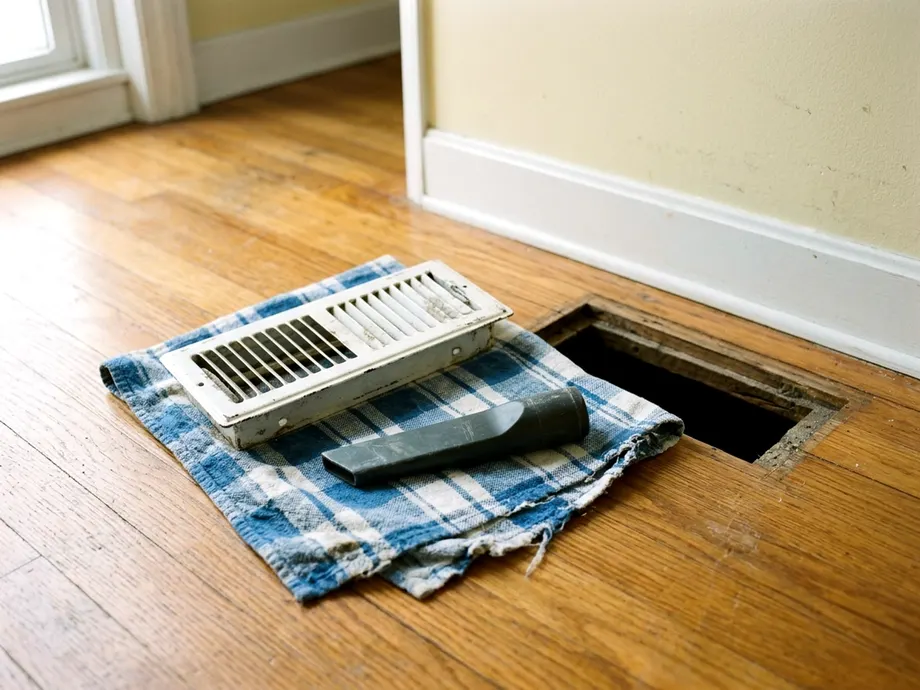
When to clean air vents yourself and when ducts need a pro
Learn how to clean the vents in your home yourself, the three signs you actually need a professional duct cleaner and what that service costs.
Household Fixes 7 min fix
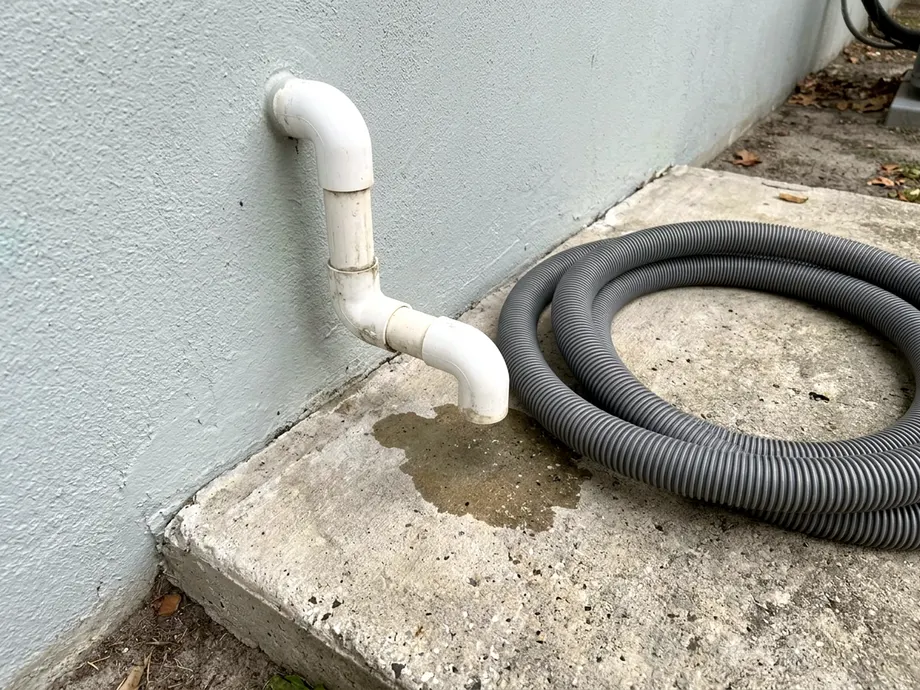
How to clean an AC drain line before it leaks indoors
Clear a clogged AC drain line fast with a wet/dry vacuum and distilled vinegar. Learn how to clean an AC drain line before water damages your floors.
Household Fixes 6 min fix