Getting grit out of collard greens before they hit the pot
Learn exactly how to clean collard greens so your next batch has zero grit. Follow these simple steps to wash, dry and slice leafy greens.
- Jotted down by Gideon Hargrove
- 7 min fix
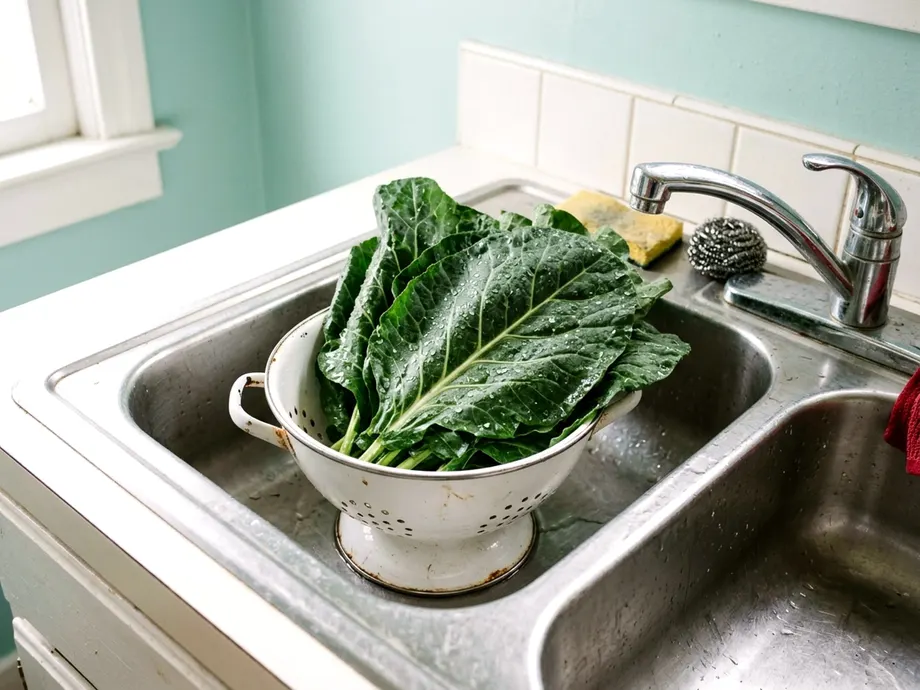
Wash collard greens in a sink full of cold water. Lift them out and drain the empty basin. Repeat this process until the water stays clear, because you want the dirt out before cooking. This helps keep sand out of your final dish.
Why these wide leaves hold so much dirt
Collard greens grow close to the ground, so soil can cling to them. Rain can splash mud upward onto the plant.
The wide, flat leaves act like a catcher's mitt for sand and mud. They trap falling dust and blowing dirt easily. Dirt settles onto the broad green surfaces and sticks fast.
Sandy soil clings stubbornly to wet plants. Morning dew traps blowing dust against the stems.
By the time a bunch reaches your local grocery store, the grit is firmly attached. You have to put in the work to get it off.
The real problem lies in the plant's structure. Mud funnels down into the tight crevices where the leaf meets the central stalk.
You cannot just hold a whole bunch under the kitchen faucet. The water can bounce off and may not reach the hidden grit trapped near the stems.
The leaves also fold and curl heavily at the edges. Sand hides inside those natural folds. Bugs seek shelter in these same tight spaces.
Small insects can also cling to the leaves and stalks. You must dismantle the plant entirely to wash all of this away.
Cut off the thick stems and wash each leaf separately
Break the tight bunches apart on a clear counter. You need to handle every single leaf on its own. This exposes the trapped dirt.
The thick, woody stem down the center of each leaf is tough and takes longer to cook. Leaving the stems attached can make the dish chewy.
The soft leafy parts will turn to mush long before the stalks become tender. Removing this stem splits the leaf in two. This opens up the dirtiest parts of the plant.
Hold the thick end of the stem in one hand. Pinch your other thumb and index finger around the green base. Pull your pinched fingers firmly down the stem. This strips the soft leaf away quickly.
You can also use a sharp knife for a cleaner cut. Fold the leaf in half lengthwise so the two green sides touch. Run the blade straight down the edge of the exposed stem. Slice the thick stalk completely off.
Toss the tough stalks straight into the compost bin or the trash. Some people try to cook the stems separately. You can chop them into tiny pieces.
Sauté these small pieces in olive oil until tender before you add the leaves. Some cooks just prefer to throw them out. The stalks can be bitter and stringy.
You can also freeze the chopped stems in a plastic bag. Boil them down for vegetable broth later. Pile the torn, unwashed leaves in a dry bowl next to the sink.
Fill a sink with cold water and swish the leaves
Wash your kitchen sink thoroughly before you start. Scrub the stainless steel or porcelain basin with dish soap. This removes any leftover food grease.
Rinse the walls and the floor of the sink entirely clean. Close the drain and fill the basin with cold tap water.
Use cold tap water for this job. Hot water can wilt the leaves.
Ice water is even better if your kitchen is very warm. Toss a few ice cubes into the sink basin before you add the greens. Use a large plastic bucket if your sink is too small.
Drop a few handfuls of torn leaves into the cold water. Do not pack the sink too full. The greens need plenty of room to float and move around.
Push the leaves down into the water with both hands. Swish them from side to side. Physical agitation helps knock the dried mud loose from the green leaves. Gravity then pulls that heavy dirt down to the bottom.
Leave the greens to float quietly in the water for a while. This resting period helps. It gives the finest particles of sand enough time to sink completely.
Lift the greens out, drain the sink and repeat
Never pull the drain plug while the greens sit in the water. The draining water acts exactly like a funnel. It strains all that loose mud right back through your clean leaves.
Lift the floating greens up and out of the dirty water instead. Transfer the wet leaves to a large bowl or a roasting pan.
A colander works well for holding the wet leaves on the counter. Place a plate underneath it to catch the dripping water. Do not use the colander inside the sink for the actual washing step.
A strainer traps the sand inside the bowl with the greens. The dirt needs an open basin to fall away completely.
Run your bare hand along the floor of the empty sink. You will easily feel the heavy sand and gritty silt. This is the dirt left behind by the leaves.
Drain that dirty water away completely. Rinse the basin clean to wash the sand down the pipe.
Fill the sink with fresh cold water again. Put the leaves back in and swish them around a second time. Lift them out again and check the bottom of the sink. Keep repeating this exact cycle.
Stop only when you feel zero grit on the basin floor. One soak is often not enough. Very dirty bunches may need several rounds of washing. The water must stay completely clear.
Know why soap and produce wash are not the answer
Plain running water and physical friction handle the dirt safely. The FDA says to wash produce thoroughly under running water. The agency warns that washing with soap, detergent or commercial produce wash is not recommended.
The FDA says soap and household detergents can be absorbed by fruits and vegetables, even after thorough rinsing. That is why plain water is the better choice.
Rely on cold water and gentle agitation instead.
You can skip this entire sink routine if you buy prepared bags. Many grocery stores sell shredded collards in the produce section. The FDA states that pre-cut or bagged produce that is labeled pre-washed and ready to eat can be used without further washing.
Just open the plastic bag. Throw the dry greens directly into your cooking pot.
Dry the leaves before slicing or storing them
Wet greens steam in the pan instead of sautéing. Puddles of cold water also dilute your hot cooking liquids. This drops the temperature of your pot drastically. You must remove the surface moisture before you chop the leaves.
A large plastic salad spinner handles this job quickly. Pack the washed leaves loosely into the strainer basket. Spin the greens in small batches. Dump the collected water out of the bottom bowl between rounds.
You can also dry collard greens with clean cotton kitchen towels. Lay two thick towels flat on the counter. Spread the wet leaves out in a single flat layer.
Press another dry towel over the top. Pat the leaves firmly to absorb the water. Leave the greens resting on the towels to air dry.
You can also use a standard wire baking rack. Set the rack over a baking sheet. Lay the leaves flat across the wire grid.
Air circulates underneath the leaves and helps them dry. This method takes very little work.
Drying matters if you plan to store the greens, because wet leaves tend to spoil faster in the refrigerator.
Dry leaves packed in a sealed plastic bag stay crisp longer. Keep them in the refrigerator.
Stack, roll and slice into ribbons for faster cooking
Big, whole leaves take a long time to break down. Slicing the dried greens into uniform strips solves this problem. The ribbons all cook at the exact same rate. The fastest way to chop flat leaves is a technique called a chiffonade.
Follow these steps to shred the leaves evenly:
- Take a handful of dry half-leaves and stack them flat on a cutting board.
- Roll the green stack up tightly from one long edge to the other.
- Hold the roll firmly against the board with your hand.
- Use a sharp knife to slice straight across the roll in thin intervals.
- Unroll the cut pieces to reveal a pile of uniform green ribbons.
Toss the shredded ribbons into a large bowl. Repeat this stacking and rolling process. Continue until you cut through your entire supply.
Collard greens cook down significantly on the stove. They release their internal water and shrink fast. A massive pile of raw ribbons yields just a few servings. If you are cooking for two, one bunch works well.
That covers a side dish. If you decide to batch cook on Sunday, buy more. Wash and shred extra bunches.
Next snags we can fix
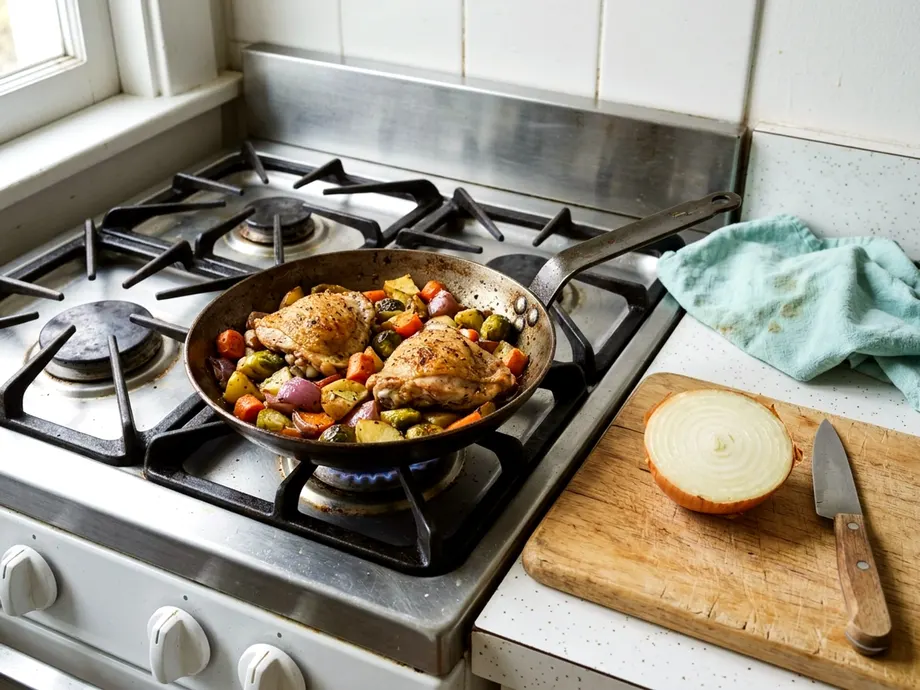
Cooking for two without a week of leftovers
Scaling down large meals leaves you with too much food or ruined dinners. Adjust cooking for two recipes with simple steps to cut waste and enjoy dinner.
Kitchen Rescues 8 min fix
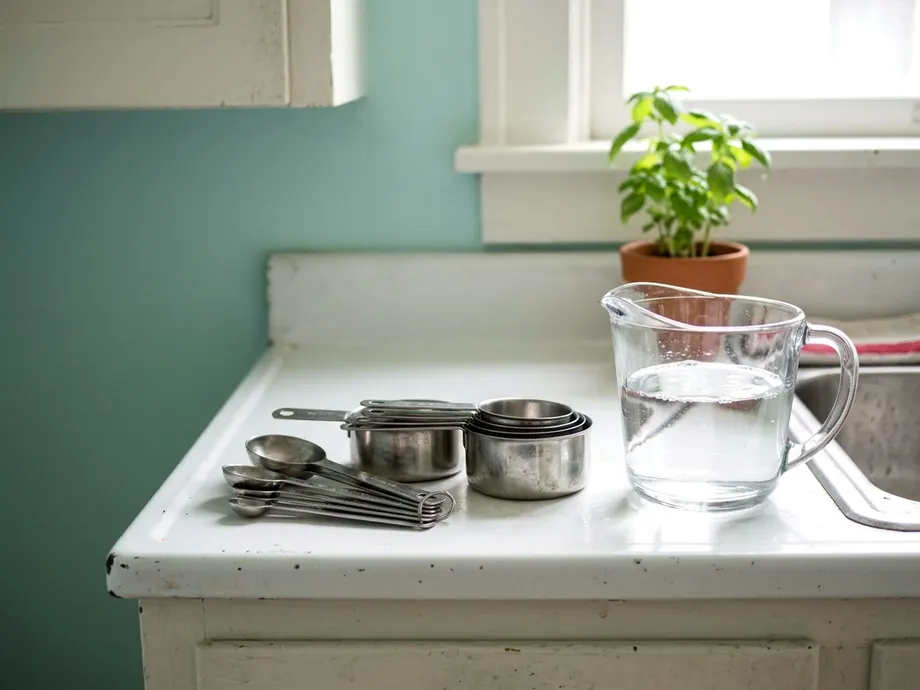
12 cooking measurement conversions to tape inside a cabinet
Print these 12 cooking measurements and tape them in a cabinet to quickly convert spoons, cups, and metric amounts while you cook.
Kitchen Rescues 8 min fix
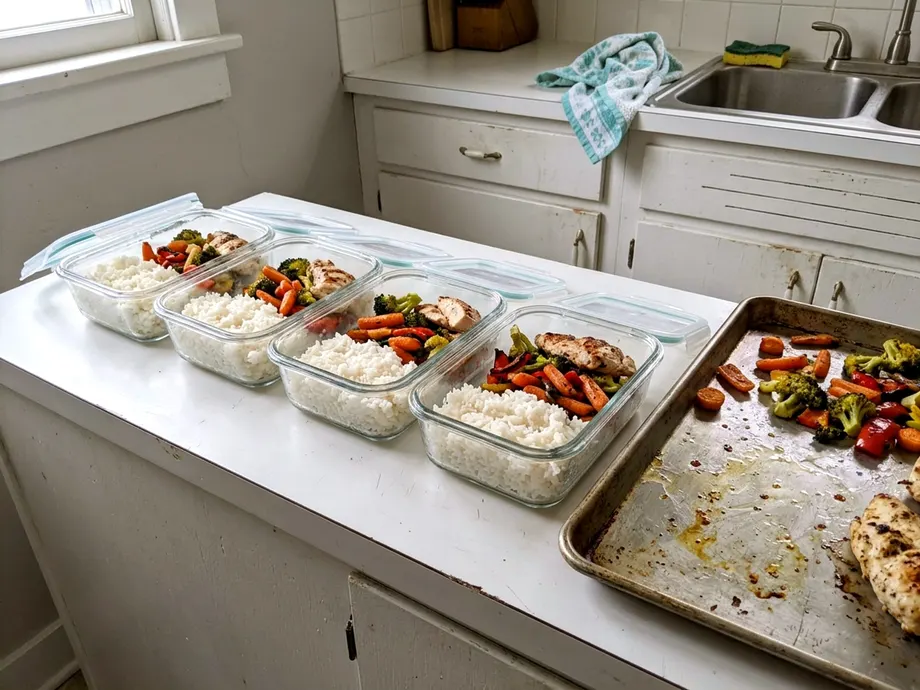
How to batch cook on Sunday and keep it safe to eat
Plan batch cooking on a Sunday to prepare meals for the week, cool them fast and store them safely so they stay fresh and ready to eat.
Kitchen Rescues 6 min fix